|
Hot VWs - February 2007 - Project Mileage Motor - Part 4 Final Assembly (almost!)
Project
Mileage Motor, Part 4
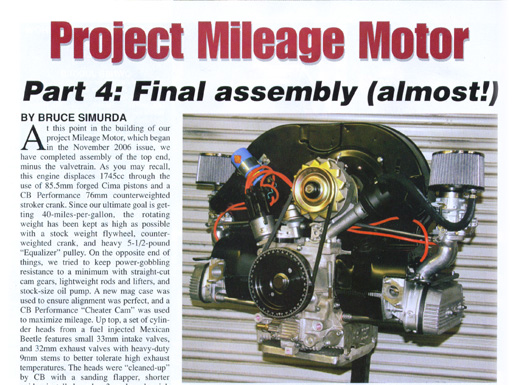
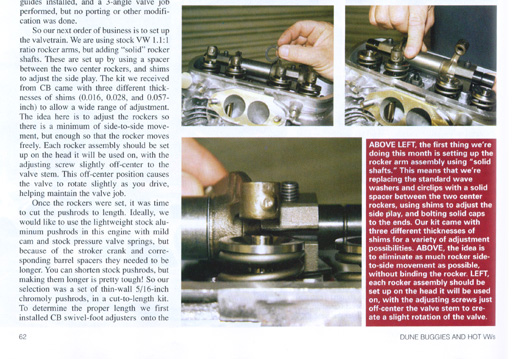
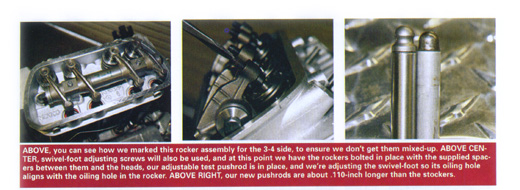
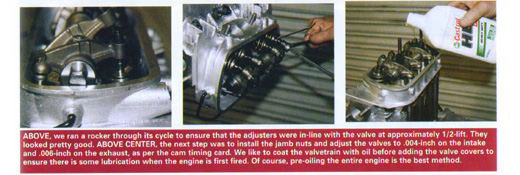
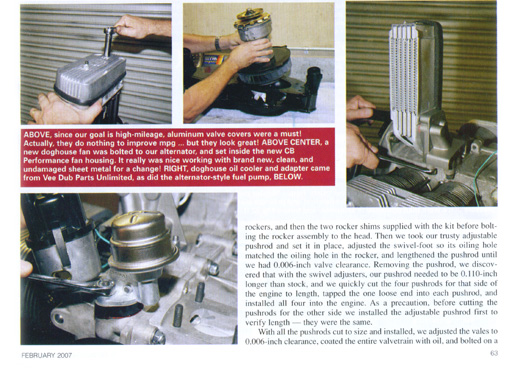
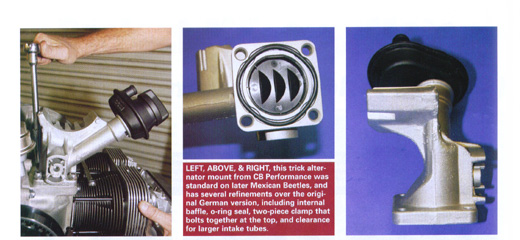
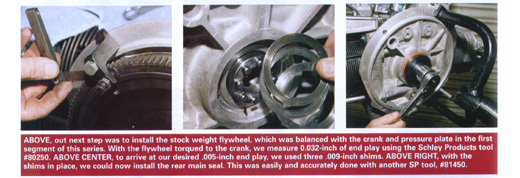
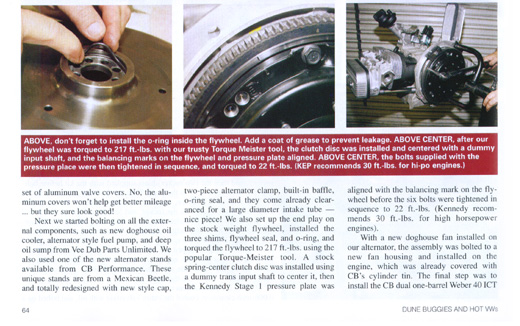
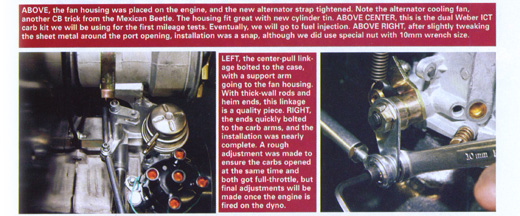
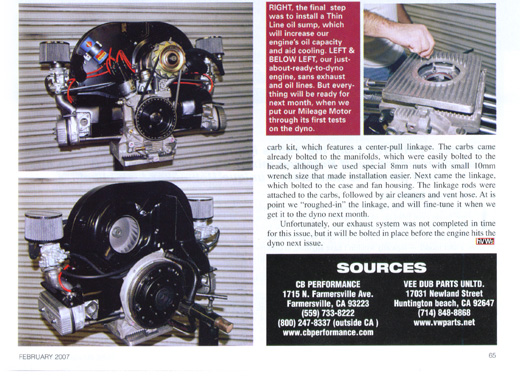
BY BRUCE SIMURDA At this point in the building of our project Mileage Motor, which began in the November 2006 issue, we have completed assembly of the top end, minus the valvetrain. As you may recall, this engine displaces 1745cc through the use of 85.5mm forged Cima pistons and a CB Performance 76mm counterweighted stroker crank. Since our ultimate goal is getting 40-miles-per-gallon, the rotating weight has been kept as high as possible with a stock weight flywheel, counter-weighted crank, and heavy 5-1/2-pound "Equalizer" pulley . On the opposite end of things, we tried to keep power-gobbling resistance to a minimum with straight-cut cam gears , lightweight rods and lifters, and stock-size oil pump. A new mag case was used to ensure alignment was perfect, and a CB Performance "Cheater Cam" was used to maximize mileage. Up top, a set of cylinder heads from a fuel injected Mexican Beetle features small 33mm intake valves, and 32mm exhaust valves with heavy-duty 9mm stems to better tolerate high exhaust temperatures. The heads were "cleaned-up" by CB with a sanding flapper, shorted guides installed, and a 3-angle valve job performed, but no porting or other modification was done. So our next order of business is to set up the valvetrain. We are using stock VW 1.1:1 ratio rocker arms , but adding "solid" rocker shafts. There are set up by using a spacer between the two center rockers, and shims to adjust the side play. The kit we received from CB came with three different thicknesses of shims (0.016, 0.028, and 0.057-inch) to allow a wide range of adjustment. The idea here is to adjust the rockers so there is a minimum of side-to-side movement, but enough so that the rocker moves freely. Each rocker assembly should be set up on the head it will be used on, with the adjusting screw slightly off-center to the valve stem. This off-center position causes the valve to rotate slightly as you drive, helping maintain the valve job. Once the rockers were set, it was time to cut the pushrods to length. Ideally, we would like to use the lightweight stock aluminum pushrods in this engine with mild cam and stock pressure valve springs, but because of the stroker crank and corresponding barrel spacers they needed to be longer. You can shorten stock pushrods, but making them longer is pretty tough! So our selection was a set of thin-wall 5/16-inch chromoly pushrods , in a cut-to-length kit. To determine the proper length we first installed CB swivel-foot adjusters onto the rockers, and then the two rocker shims supplied with the kit before bolting the rocker assembly to the head. Then we took our trusty adjustable pushrod and set it in place, adjusted the swivel-foot so its oiling hole matched the oiling hole in the rocker, and lengthened the pushrod untill we had 0.006-inch valve clearance. Removing the pushrod, we discovered that with the swivel adjusters, our pushrod needed to be 0.110-inch longer than stock, and we quickly cut the four pushrods for that side of the engine to length, tapped the one loose end into each pushrod, and installed all four into the engine. As a precaution, before cutting the pushrods for the other side we installed the adjustable pushrod first to verigy length - they were the same. With all the pushrods cut to size and installed, we adjusted the valves to 0.006-inch clearance, coated the entire valvetrain with oil, and bolted on a set of aluminum valve covers. No, the aluminum covers won't help get better mileage - but they sure look good! Next we started bolting on all the external components, such as new doghouse oil cooler, alternator style fuel pump, and deep oil sump from Vee Dub Parts Unlimited. We also used one of the new alternator stands available from CB Performance. These unique stands are from a Mexican Beetle, and totally redesigned with new style cap, two-piece alternator clamp, built-in baffle, o-ring seal, and they come already clearanced for a large diameter intake tube - nice piece! We also set up the end play on the stock weight flywheel, installed the three shims, flywheel seal, and o-ring, and torqued the flywheel to 217 ft.-lbs. using the popular Torque-Master tool. A stock spring-center clutch disc was installed using a dummy trans input shaft to center it, then the Kennedy Stage 1 pressure plate was aligned with the balancing mark on the fly-wheel before the six bolts were tightened in sequence to 22 ft.-lbs. (Kennedy recommends 30 ft.-lbs. for high performance engines). With a new doghous fan installed on our alternator, the assembly was bolted to a new fan housing and installed on the engine, which was already covered with CB's cylinder tin. The final step was to install the CB dual one-barrell Weber 40 ICT carb kit, which features a center-pull linkage. The carbs came already bolted to the manifolds, which were easily bolted to the heads, although we used special 8mm nuts with small 10mm wrench size that made installation easier. Next came the linkage, which bolted to the case and fan housing. The linkage rods were attached to the carbs, followed by air cleaners and vent hose. At is point we "roughed-in" the linkage, and will fine-tune it when we get to the dyno next month. Unfortunately, our exhaust system was not completed in time for this issue, but it will be bolted in place before the engine hits the dyno next issue. |
